
Setting up allSAVE Pro
Creating the Registries
The first thing that you need to do after installing allSAVE Pro is open the AllSave Pro Window. You can do this by going to the Window menu and selecting the newly available 'AllSave Pro' option (Window ->allSAVE Pro).
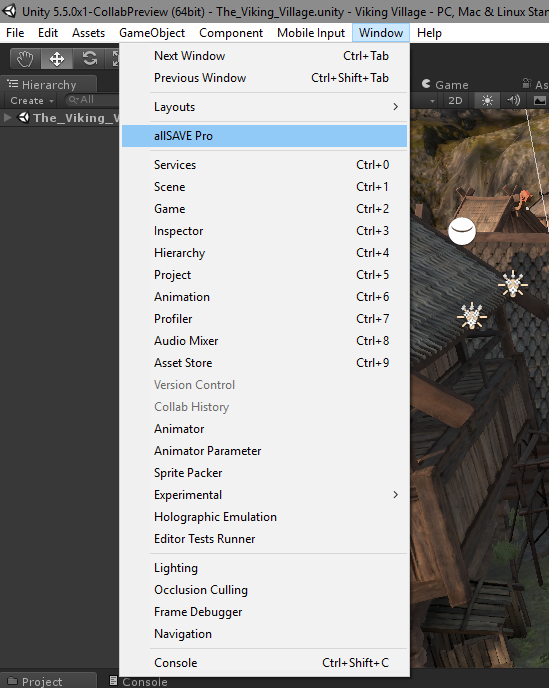
Opening the allSAVE window from the top-level menu bar
After opening the allSAVE Pro window, you will see a message indicating that the Serializer has not yet been initialized. This message simply means that allSAVE Pro has not yet been set up. In order to set up allSAVE Pro, you must press the button labelled 'Create Registries'. This will cause allSAVE Pro to begin the setup process by scanning every scene in your project in order to find out what objects may need to be added to save files. You should ensure that all of the scenes that you wish to include in the project have already been added in Unity's Build Settings window. If you want to add more scenes at a later date, it is perfectly safe to do so.
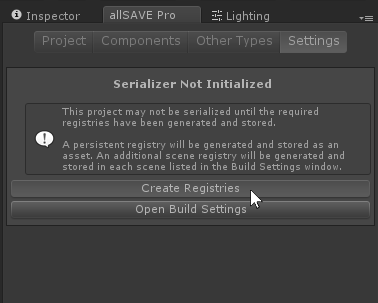
Press the button labelled 'Create Registries' to setup allSAVE Pro
Once you have pressed the 'Create Registries' button, you will be confronted with a progress bar while your project is being inspected and the registries are being generated. The amount of time taken is determined by how many scenes are involved in a project and how complex those scenes are; it may be a matter of seconds, or up to several minutes. Each of your scenes will have a Scene Registry added to it, and a Persistent Registry will be created in your project at Assets/Serialization/Resources.
You should not delete the Scene Registries from your scenes, as this will prevent them from being able to save. The Persistent Registry may be moved after it has been generated but you should NOT move it manually - if you wish to move the Persistent Registry, you should do so through the settings panel of the AllSave Pro window.
Using the AutoPatcher

The first thing you see after generating registries is the settings tab
Once the serialization registries have been generated, the 'AllSave Pro' window will show settings which may be used to configure the way in which the project is serialized. Each setting is accompanied by a help message which describes the purpose of the setting. The default settings should be effective for most projects.
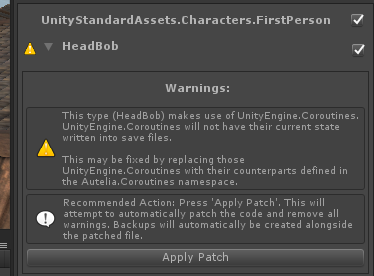
Scripts with warnings will be marked with yellow exclamation marks. Press 'Apply Patch' or 'Apply All' to fix them.
You should visit the 'Components' and 'User Types' panels to check for warnings in your custom types. If there are no warnings, please press the button labelled 'Scan Now' and wait while AllSave Pro scans your codebase. If there are warnings, there will be buttons prominently visible that may be used to fix those warnings automatically.
There is no progress bar available while patching code, so please be patient while AllSave Pro parses the files. Patching code may take several minutes. In some cases, code may need to be patched more than once.
You're Ready to Save!
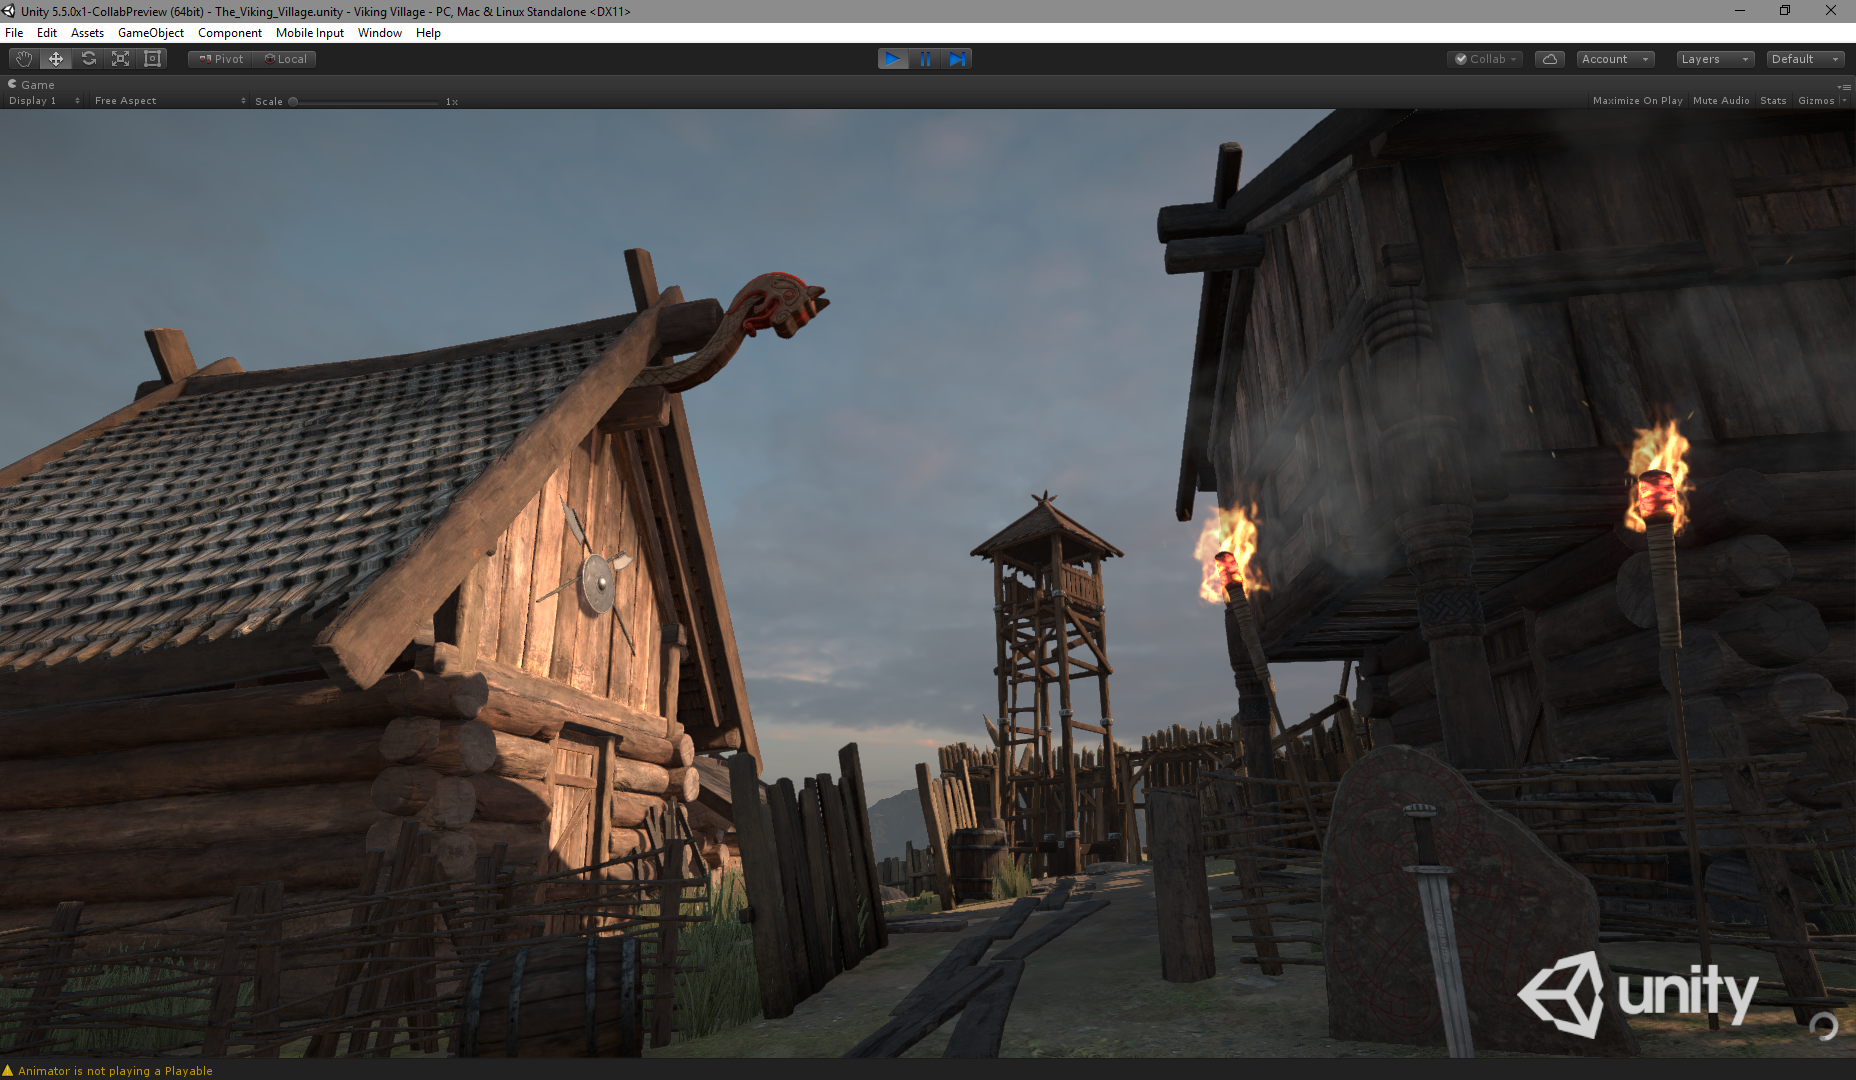
allSAVE Pro, in the process of serializing the Viking Village demo scene
Once warnings have been patched out of your code, you should be ready to save! By default, Quicksave is enabled in all scenes and mapped to the 'F5' key. Start your project by pressing Unity's play button, as usual, and try pressing 'F5' to save your games current state. A save file should be created in the location indicated in the Settings panel of the 'AllSave Pro' window. A spinner should appear in the bottom corner of the screen while the file is being written to the hard drive. Once the spinner has stopped, press 'F9' (the default key for quickload) and your state should be restored.
Using the Built-in Menu Prefabs

Menu prefabs come with allSAVE Pro. To use them, drag directly into the scene.
If you wish to use menus to save/load state in your project, there are some example prefabs for the UI in Assets/SaveLoad/QuickSetup/Menus. Two menu prefabs are available in the current version. The 'Classic' menu has a fixed number of save slots, whereas the 'Modern' menu has an unlimited number of save slots and a built-in preview image. For the modern menu to display a preview image, it must be used in conjunction with a header that supports preview images (under the settings tab, look for the Header Type setting and select 'Basic Header + Preview').
To use either of the built-in menus, drag the prefab named 'Menu' directly into the scene, at the top-level of the hierarchy. The prefabs include a canvas, so there is no need to create one before adding the menus to your scene. When you press Play in the Unity Editor, you should be able to open a menu with the 'Escape' key. The menu will allow you to Save and Load your game. New buttons can be easily added to these menus to match the actual needs of your project and they may be styled to your taste.
IMPORTANT NOTE:
When the allSAVE Pro window is first opened, it will create a config file (Assets/Serialization/Resources/SerializerConfiguration.prefab). The config file must not be moved, renamed nor deleted. If the config file is not found, the unique encryption key contained within it will be lost forever. Encrypted save files will not be able to be loaded by anyone, including the plugin's author. Even if files are not encrypted, behaviour is undefined in the event of the config file being deleted. Likewise, if you delete the scene registries or the Persistent Registry then save files will be permanently invalidated. Don't delete them unless you know exactly what you are doing or are happy to have all existing save files be invalidated.